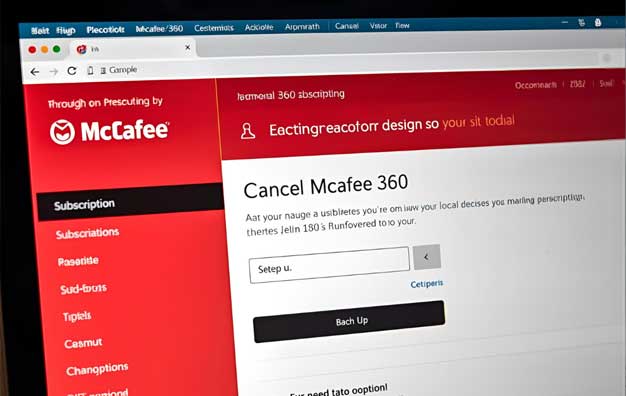
It happens to the best of us. You signed up for a McAfee antivirus subscription, but now your needs have changed, you’ve found an alternative, or you simply want to stop the auto-renewal charges. Whatever your reason, canceling a subscription service can sometimes feel like navigating a maze.
The good news? Canceling your McAfee product subscription is a straightforward process if you know the correct steps. This guide will walk you through the two primary methods—canceling online yourself or getting help from support—ensuring you can confidently stop future charges.
Before You Begin: Two Crucial Preparations
A little preparation will make the process infinitely smoother. Before you start, make sure you have these two things ready:
-
Your McAfee Account Credentials: This is your registered email address and password. If you’ve forgotten your password, use the “Forgot Password” link on the login page to reset it first.
-
Your Billing Information: Have the credit card or PayPal account statement handy that you used to sign up for McAfee. Customer support may ask for details to locate your account.
Method 1: The Self-Service Online Cancellation (The Fastest Route)
For most users, the quickest way to cancel is directly through the McAfee official website. This method puts you in control and can be done in minutes.
Step-by-Step Guide:
-
Log In to Your McAfee Account: Go to the official McAfee My Account page and sign in with your email and password.
-
Navigate to Subscriptions: Once logged in, look for a tab or section labeled “My Account,” “Subscriptions,” or “Billing.” Click on it.
-
Find Auto-Renewal Settings: You will see a list of your active products. Locate the subscription you wish to cancel and look for a toggle switch or button that controls “Auto-Renewal” or “Automatic Renewal.”
-
Turn Off Auto-Renewal: This is the key action. Switch the auto-renewal toggle to the “Off” position. McAfee may call this “Turning Off Automatic Renewal.”
-
Confirm the Cancellation: A pop-up window will appear, asking you to confirm your choice. It will likely explain that your protection will remain active until the end of your current billing period, but it will not renew. Confirm that you want to turn off auto-renewal.
-
Get Confirmation: You should see an on-screen confirmation, and McAfee will typically send a confirmation email to your registered address. Keep this email for your records.
Important Note: Your McAfee software will continue to work until the last day you have paid for. You are simply preventing the next automatic charge.
Method 2: Contacting McAfee Customer Support
If you can’t find the auto-renewal setting, are having trouble logging in, or simply prefer to speak with a person, you can contact McAfee support directly to handle the cancellation.
Your Options for Contact:
-
Phone Support: This is often the most direct method.
-
US/Canada: 1-866-622-3911
-
UK: 0203 047 1566
-
Australia: 02 8823 0330
-
(For other countries, visit the McAfee Contact Us page on their website).
-
-
Live Chat: Many users find live chat to be a convenient middle ground. Look for the “Chat” or “Contact Us” option on the McAfee website, usually at the bottom of the page.
-
Online Request Form: You can sometimes submit a cancellation request through a form, though this may take longer for a response.
Tips for a Smooth Support Call/Chat:
-
Be prepared with the email and billing information mentioned earlier.
-
Clearly state that you want to “cancel your subscription and turn off auto-renewal.”
-
Be polite but firm. If the representative offers you a discount or tries to retain you, simply reiterate that you wish to cancel.
-
Ask for a cancellation confirmation number or email. Do not end the call or chat until you have it.
What to Do After Successful Cancellation
Once you’ve received confirmation, take these final steps for complete peace of mind:
-
Verify the Charge Stop: Keep an eye on your bank or credit card statement after the cancellation date to ensure no new charges from McAfee appear.
-
Uninstall the Software (Optional): If you no longer wish to use the software, you can uninstall it through your computer’s “Add or Remove Programs” (Windows) or “Applications” folder (Mac). McAfee provides a dedicated removal tool (MCPR) if you encounter any issues.
Final Thoughts
Canceling a McAfee subscription doesn’t have to be a frustrating ordeal. By using the self-service portal to turn off auto-renewal or by coming prepared to a support call, you can efficiently manage your subscriptions and stop unwanted charges.
Taking a few minutes to proactively manage your digital subscriptions is a powerful way to ensure you’re only paying for the services you actually use. You are now equipped with the knowledge to do just that.
Disclaimer: Procedures and contact information are subject to change by McAfee. Always refer to the official McAfee website for the most current instructions.


